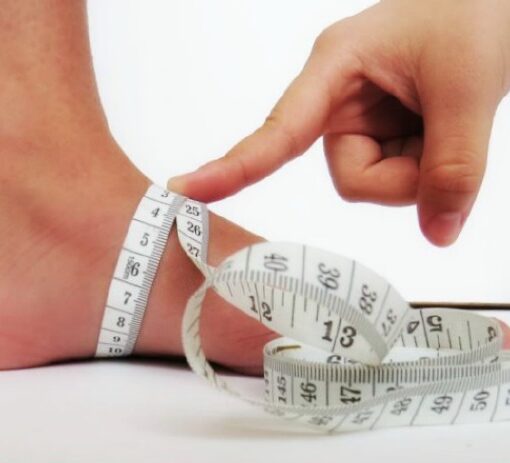
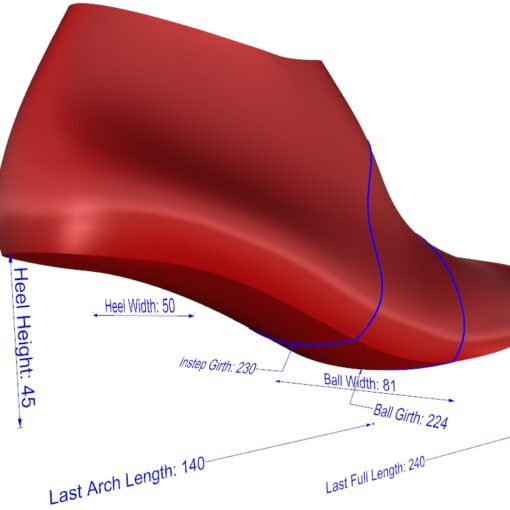
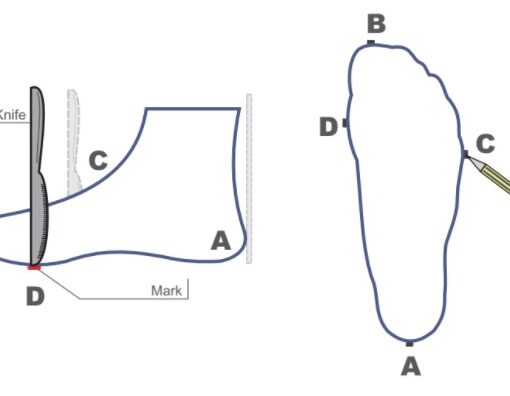
When ordering our custom shoe lasts, you’ll need to specify the various measurements. One way to determine them is from foot measurements plus allowances. Such foot measurements consist of girth and linear measurements. You can get foot girth measurements via a tailor tape measure (see our measuring foot girths guide). Linear measurements, on the other hand, are usually determined from a foot tracing (see our guide to making a foot tracing). On this page, we’ll explain how to analyze tracings to get linear foot measurements which can be used for ordering custom shoe lasts. Please note that if you’d rather we do this step for you, then consider ordering a Bespoke Shoe Last instead.
Step 1: Drawing Construction Lines and Points
The following steps assume you already have a foot tracing with key points marked as per our foot tracing guide.
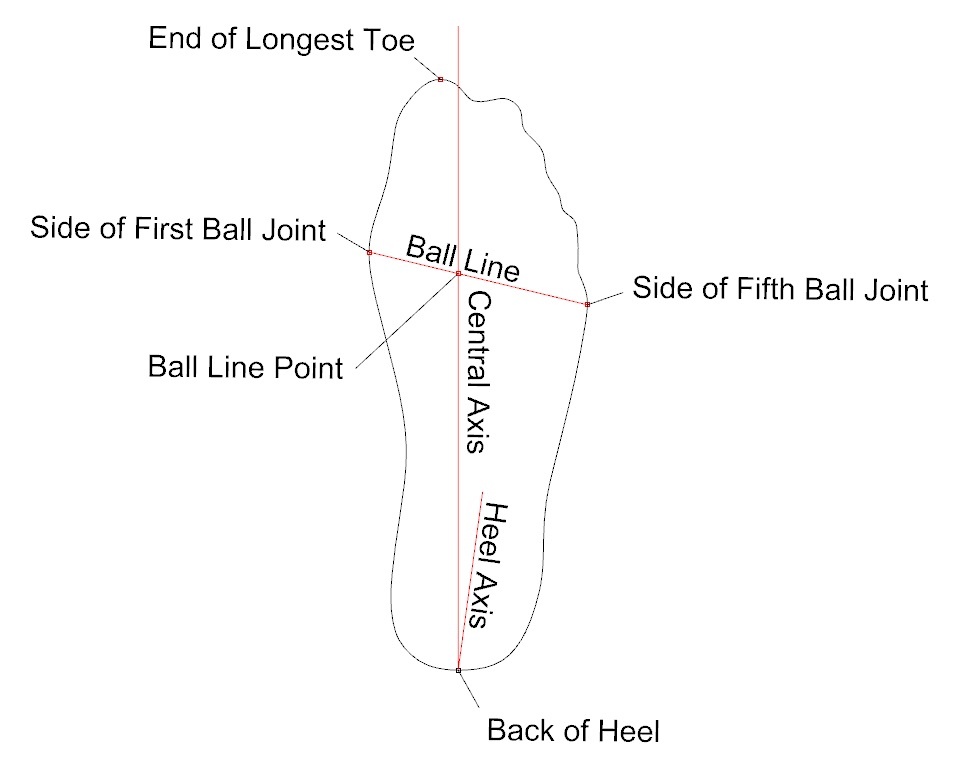
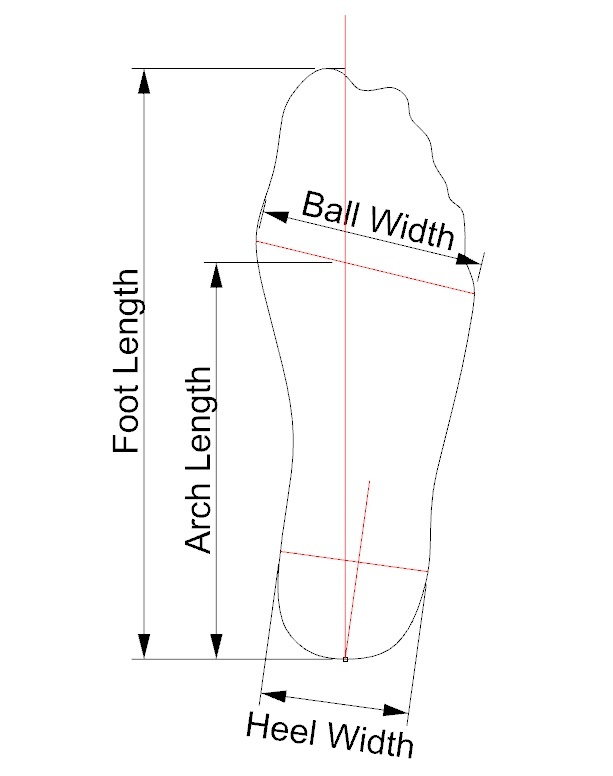
Ball Line: Draw a line joining the First and Fifth Ball Joint Points.
Ball Line Point: Measure the length of the Ball Line. Then draw a dot at 41% of this distance from the First Ball Joint Point. We’ll call this the Ball Line Point. If you are pressed for time, it’s a reasonable approximation to put the put the dot on the line such that it’s the closest spot to the base of the second toe.
Heel Point: Find the furthest point from the Ball Line Point to the back of the heel. Make sure this point is fairly central to the heel. For instance, if there is a bump off to the lateral side of the heel (possibly an exostoses), ignore this and instead pick what otherwise would have been the furthest point. We’ll call this point the Heel Point.
Central Axis: Draw a line from the Heel Point through the Ball Line Point extending beyond the toes. This is the Central Axis.
Heel Axis: The Heel Axis is similar to the Central Axis except that it’s is more central to the heel region of the foot. Draw a line that starts at the Heel Point and is central to the heel region of the foot.
Step 2: Taking Linear Foot Measurements
Ball Width: You actually already took this measurement in Step 3; it’s just the length of the Ball Line.
Foot Length: Draw a line that passes through the end of the longest toe and the Central Axis and is perpendicular to the Central Axis. Measure the distance from the intersection of this line and the Central Axis to the Heel Point. This is the foot length.
Arch Length: The Arch Length is the distance along the Central Axis from the Heel Point to the Ball Line Point.
Heel Width: Create a point on the Heel Axis that is 1/6 of the Foot Length along the Heel Axis. Draw a line passing through this point that is perpendicular to the heel axis. Measure the distance along this line from the medial to lateral intersection with the foot outline. This is the Heel Width.
Step 3: Adjusting for Drawing Instrument Diameter/Thickness
If you followed our recommendation for using a butter knife or similarly thin straight object to initially indent the paper, then you won’t need to do this step. But if you used a pencil or pen directly, then you’ll have to adjust measurements depending on the diameter/thickness of your drawing instrument. Measure the thickness of the drawing instrument you traced the foot with (a caliper is ideal for this, but a tape measure will do). Subtract one diameter/thickness from the foot length and ball width to arrive at the actual measurements. Similarly, subtract one half of the diameter/thickness from the arch length. Update your recorded measurements.
Alternative Approaches to Measuring a Foot for a Custom Shoe Last
There are many other approaches that can be used to measure a foot. Most simply, a Ritz Stick works quite well. For widths, a caliper will do. And there are of course many 2D and 3D scanners and corresponding software programs that can be used. We’ll talk about these in upcoming posts.
Next Step for Custom Shoe Lasts
Now you should have a good understanding of how to measure a foot. But foot measurements alone are not enough to determine the measurements of a custom shoe last. You also need to know allowances (see our guide to custom shoe last allowances) in order to arrive at the proper custom shoe last measurements. We’ll cover this in our next post. And later on, we’ll circle back to discuss some more advanced measurements like angular foot measurements.

